How To Lay Laminate Flooring
So you have purchased new laminate flooring for your home or business premises, or you are at least considering it. Whether you enjoy doing DIY and home improvements or not, one of the benefits of laminate flooring is that it’s relatively easy to install. As a laminate flooring supplier, we thought it would be helpful to take you through a step-by-step installation guide of how to properly lay laminate flooring yourself.
Step 1 – Choose An Underlay
The first stage of this process, whether you’ve removed your old flooring or not, is to understand the foundation under which you’re laying your new flooring. All laminate flooring requires an underlay. Without that underlay, your new flooring will be laying on a cold concrete surface or a wooden subfloor. If you have a concrete surface, it is possible for moisture to seep through and dampen your home as concrete is porous. In terms of a proper underlay, you have two main options:
Fibreboard Underlay
If you have a wooden subfloor, we recommend choosing a fibreboard underlay. It offers excellent heat retention which can increase the energy efficiency of your home. This material will also help to even out your floor if there are any slopes. If you choose a fibreboard underlay, you need to lay it 90 degrees to the direction you intend to lay your flooring.
Foam Underlay
Most foam underlays are both mould and mildew resistant. Before you start laying this underlay over the concrete, it’s essential to check the moisture level of the subfloor first. There are devices designed to do this for you. However, a cheaper method is to stick a sheet of polythene plastic onto a patch of concrete with duct tape and leave it overnight. If there are water droplets under the sheet the next day, this means your concrete is damp. If there are no water droplets present, this means your concrete is dry and you can proceed with applying the foam underlay.
Step 2 – Preparation
Once the underlay is installed, you can start the preparations. If you have a concrete or a new subfloor, the direction of your new flooring is up to you. However, whichever direction you plan to lay your flooring, we advise that you lay it down first before connecting it. This will allow you to spot any problems earlier on and give you an idea of whether you have enough space for an expansion gap. Generally, laminate flooring requires an expansion gap of 10 to 12mm in order to expand properly. Without it, you will most likely experience serious problems with your new flooring
To work out how many boards of laminate flooring you will need, measure the room you plan on reflooring and divide that number by the width of a new flooring board. For the last board, if the width of it is less than a full board and there is no expansion gap, then you will have to cut it down using a jigsaw to fit.
Step 3 – The Laying Process
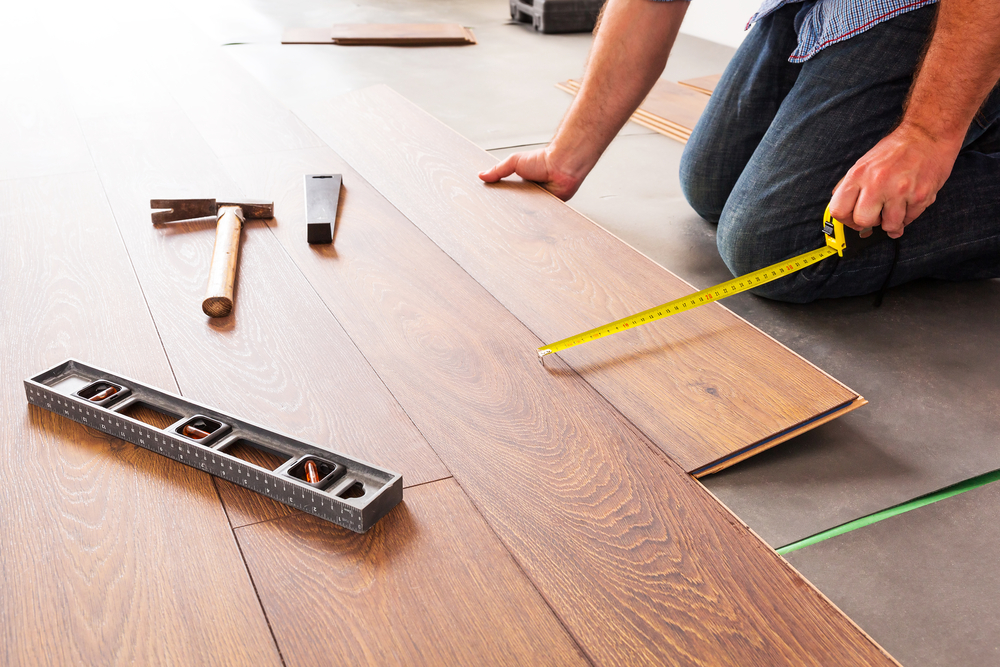
Start laying the boards in the corner of the longest wall in the room and continue down from there. Don’t forget to leave an expansion gap of 10-12mm around the perimeter of the wall and the installed boards. Add spacers to maintain it and ensure the installed boards don’t shift as you continue the process. Once the first board is laid, place a new board at the end of it, make sure it’s aligned precisely, and connect them by pressing down until you hear a clicking sound. Continue laying and connecting, going by row by row until the entire floor is completed.
Step 4 – Radiator Pipes
Cutting a flooring board to fit around a radiator pipe is easier than it looks. Lay your laminate flooring board next to the pipe and draw a line to indicate where the pipe will be. Next, lay the same board in front of the pipe and draw a mark from the centre of the pipe and create a cross with the first line. The cross where the two lines meet is where you have to drill a hole. Use a good sized spade or flat wood drill, make sure to choose a size that will give hot pipes enough room to expand.
Next, mark two lines from the edges of the hole down to the edge of the board. Both lines should run at a slightly outward angle to allow the pipe to slot in. Use a jigsaw or a hacksaw to cut the board between the two lines. Make sure you keep this cutout piece, after you’ve slotted the board around the pipe, you’ll be sticking the cutout piece back down using adhesive. To tidy up the finished look, add a pipe collar.
Laminate Flooring and Installation From Value Carpets & Flooring
We hope you found this installation guide useful. However, we understand laying a laminate flooring is a time consuming task and some people may not have time to do it themselves. In this case, Value Carpets & Flooring would be happy to install your laminate flooring for you. Our fitting team is both experienced and quick. They can take the workload off your hands, leaving you with a perfectly installed flooring without lifting a finger!
If you are considering a new laminate flooring, we’re an established supplier of laminate flooring and other floorings including real wood flooring, LVT, and carpets. To browse through samples of our flooring range, visit our showrooms in Birmingham or Cannock and our sales team would be happy to help you find the right flooring.

